Enhance the accessibility of your Android application

There are approximately 285 million people with visual impairments around the world. Making your app accessible improves the design, not just for those users, but for everyone.
I will talk about how you can easily make a great step forward in the usability of your Android application.
Test your app as a blind user

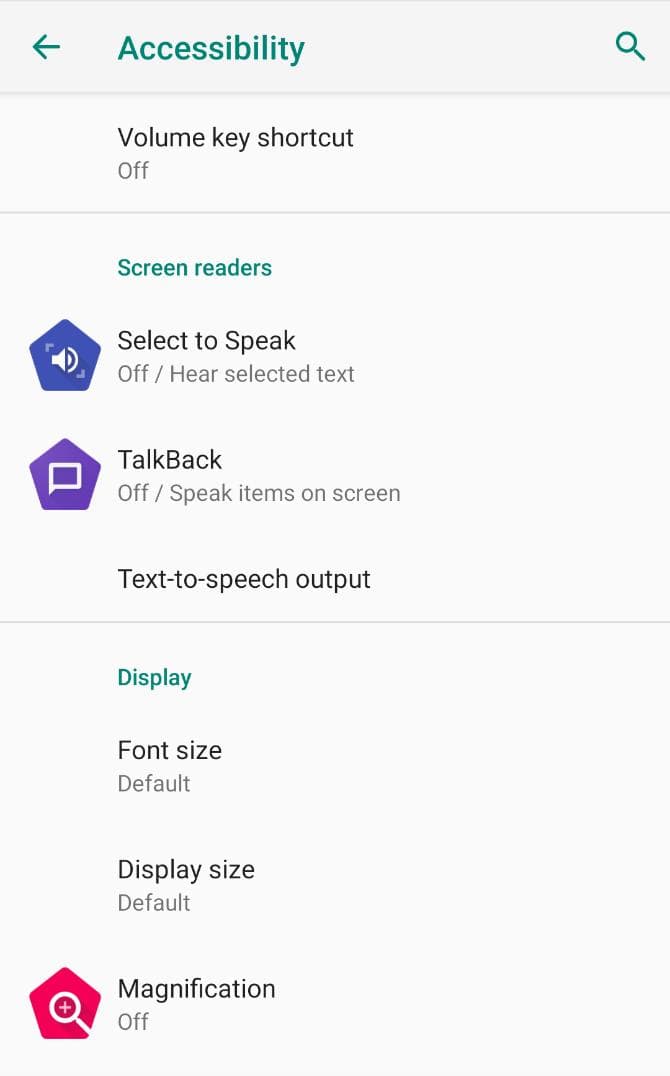
TalkBack is a popular accessibility service available on most Android devices. I suggest you to activate it and follow the tutorial to understand how to use it.
Believe me, if you activate TalkBack without knowing how to use it, you will have strong difficulties to deactivate it. (Seriously, follow the tutorial)
If you work in an open space, use headphones, because your device will constantly be talking to you and I don’t want your coworkers to start firing their Nerf at you.
With TalkBack activated, you can start using your app and test the features (you can even do it with your eyes closed to experience it as a blind user)
You will be surprised how you can successfully navigate and use almost everything in your app without doing anything. (I say almost)
contentDescription
This attribute will resolve 95% of your app accessibility problems.

In this example, we have an ImageButton near an EditText field which sends the message we have just typed.
There are some visual clues that help the user understand what this button does :
- A known icon
- The immediate proximity of the message field.
But a blind or a visually impaired user doesn’t see this and it’s your responsibility to improve the usability for everyone.
<ImageButton
  android:id="@+id/sendButton"
  android:layout_width="wrap_content"
  android:layout_height="wrap_content"
  android:src="@drawable/ic_send_white_24dp" />
Android Studio displays this lint message if you have forget the contentDescription attribute: Missing contentDescription attribute on image
And if you test this button with TalkBack, the voice will say “Unlabelled button”
You can fix this by adding a contentDescription
<ImageButton
  android:id="@+id/sendButton"
  android:layout_width="wrap_content"
  android:layout_height="wrap_content"
  android:contentDescription="Send the message"
  android:src="@drawable/ic_send_white_24dp" />
Now TalkBack will say “Send the message button” and you already made the world a better place.
Note that TalkBack will say “button” for you so don’t put it in the contentDescription.
If your Image is a space or a decorative element, you can set the contentDescription to null and TalkBack will just ignore it.
android:contentDescription=”@null”
If your app only supports devices running Android 4.1 (API level 16) or higher, you can instead set android:importantForAccessibility to “no”.
Of course, you can also do it programmatically with setContentDescription and in other kinds of views, like a LinearLayout for example :
messageLayout.setContentDescription(getString(R.string.message_content_description, message.createdAt, message.sender.firstname, message.content));
<string name=”message_content_description”>On %1$s, %2$s have sent %3$s</string>
Here, by passing a contentDescription on a message layout, you will hear something like: “On Friday August 17th, Alice have sent Where are you?”.
You can also use it in your custom view to better describe what is displayed.
Check the documentation for more details : https://developer.android.com/guide/topics/ui/accessibility/apps#label-elements
Focusable
You can add a focusable attribute to a container which has related contents to tell TalkBack that it can read all the texts as a single announcement. It will also reduce the amount of swiping the user has to do.
<LinearLayout
  android:id="@+id/song_data_container"
  android:layout_width="wrap_content"
  android:layout_height="wrap_content"
  android:focusable="true">
  <TextView
    android:layout_width="wrap_content"
    android:layout_height="wrap_content"
    android:id="@+id/song_title"
    android:text="Player Name" />
  <TextView
    android:layout_width="wrap_content"
    android:layout_height="wrap_content"
    android:id="@+id/singer"
    android:text="Lebron James" />
</LinearLayout>
Check the documentation for more details : https://developer.android.com/guide/topics/ui/accessibility/apps#grouping-content
Focus order
With TalkBack, you trasverse your app from view to view by swipping on the screen. Focus order indicates which view gets the selection and focus next.
Android automatically tries to figure out the right focus order for your views. Most often, the focus order is left to right, then top to bottom.
To change the default focus order for your app, use the nextFocusDown, nextFocusLeft, nextFocusRight, and nextFocusUp XML attributes. Specify which view (by ID) should get the focus next, after the current view.
<Button
  android:id="@+id/button1"
  android:layout_alignParentTop="true"
  android:layout_alignParentRight="true"
  android:nextFocusRight="@+id/editText1" />
Check the documentation for more details: https://developer.android.com/guide/topics/ui/accessibility/apps#navigation
AccessibilityDelegate
AccessibilityDelegate offers you many more options to edit and customize the accessibility experience.
For example, for each clickable view in your UI, TalkBack says : “Double tap to activate”
But you can go further by using an AccessibilityDelegate implementation :
ViewCompat.setAccessibilityDelegate(addPlayerButton, new AccessibilityDelegateCompat {
  @Override
  public void onInitializeAccessibilityNodeInfo(View view, AccessibilityNodeInfoCompat info) {
    super.onInitializeAccessibilityNodeInfo(view, info);
    info.addAction(
      new AccessibilityNodeInfoCompat.AccessibilityActionCompat(
        AccessibilityNodeInfoCompat.ACTION_CLICK,
        "add a player"
      )
    );
  }
});
And now, TalkBack says: “Double tap to add a player”
You can enhance the accessibility behavior of your custom views in many different ways, check the documentation for more details: https://developer.android.com/guide/topics/ui/accessibility/custom-views
